
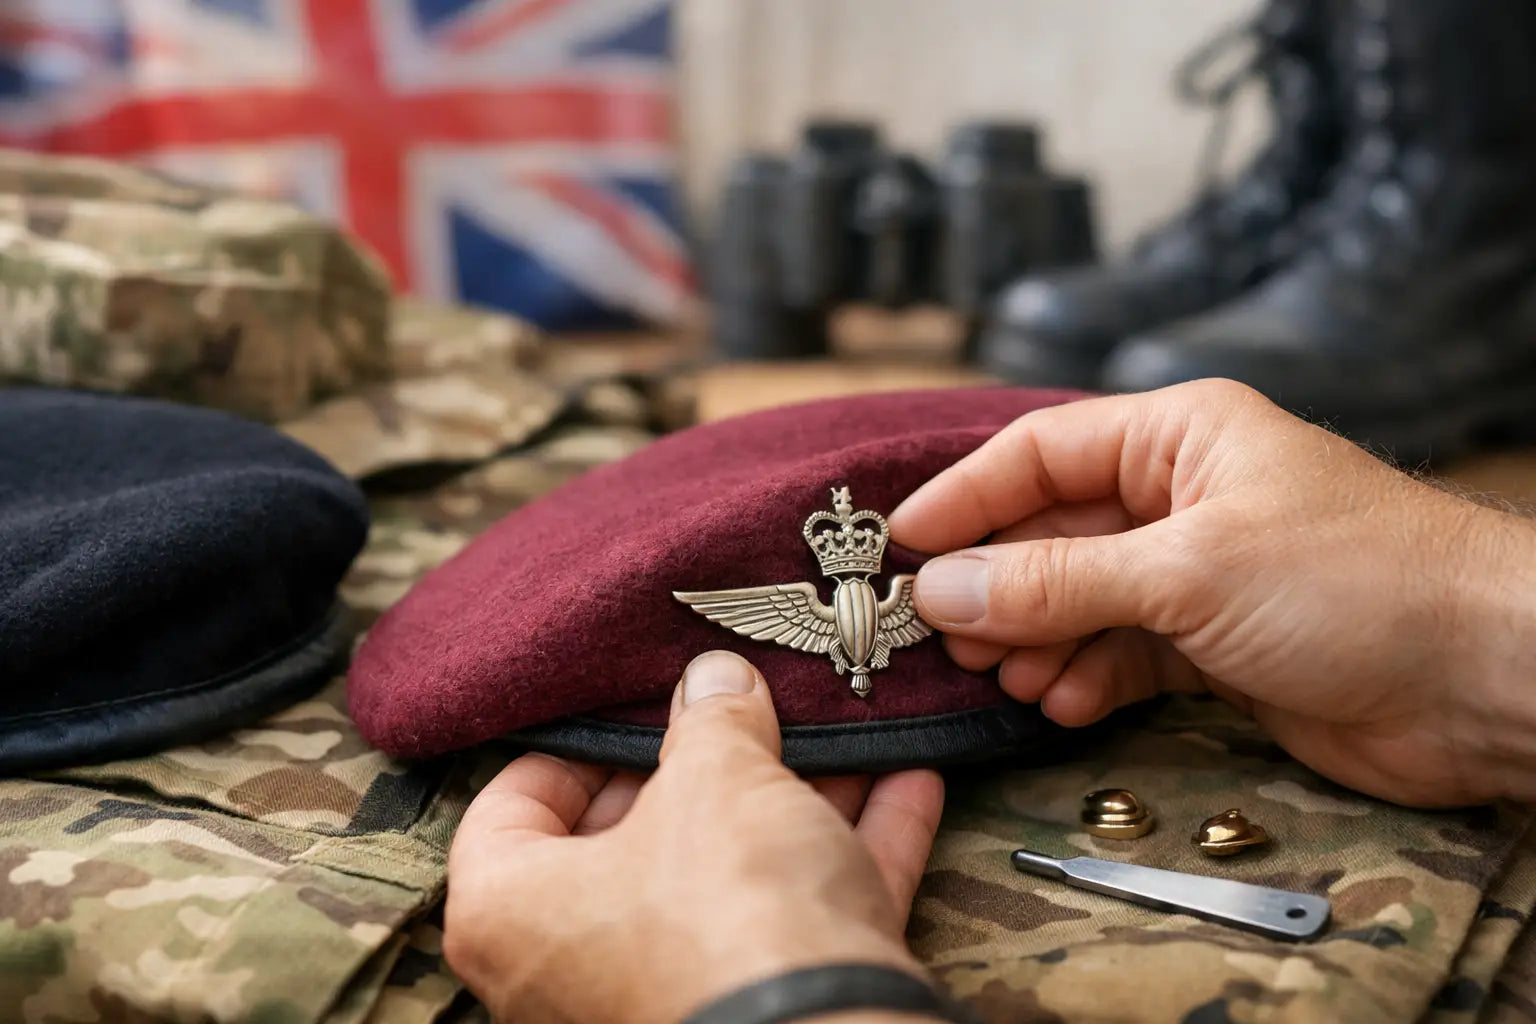
A beret can be clean, correctly shaped and the right size, yet still look wrong if the badge sits too high, twists under tension or is fitted to the wrong side. This beret badge placement guide sets out the usual British Forces-style approach, along with the checks that matter before a parade, inspection, remembrance event or formal photograph.
The basic rule is simple: the cap badge is normally worn over the left eye of the wearer. That places it on the right-hand side when somebody is facing you. The beret is drawn down towards the wearer's right ear, creating the familiar shaped profile while keeping the badge clear and upright on the left.
Start with the correct unit convention
There is no substitute for your own service, regiment, corps, squadron, cadet force or police force dress instruction. The standard position is a reliable starting point, but cap badges, hackles, plumes, backing patches and beret colours can carry specific unit conventions. Some organisations also specify the exact badge, fastening method and whether an authorised backing is required.
For serving personnel and cadets, follow current local orders and seek confirmation from a chain of command, detachment instructor or RQMS where needed. This is particularly relevant when preparing for a passing-out parade, ceremonial duty or a formal unit event. Veterans and collectors should also avoid mixing insignia from different regiments simply because the fittings happen to match.
A smart beret is about more than appearance. Regimental detail signals belonging, standards and respect for the people who have worn the badge before you.
Beret badge placement guide: getting the position right
Fit the beret first, then mark the position. Trying to place the badge on a flat, unshaped beret often leads to an alignment that changes once the material is pulled down and moulded around the head.
Put the beret on level, with the headband sitting comfortably around the forehead. The front edge should be straight and not ride excessively high. Locate the point directly above your left eye and keep the badge centred on that line. It should sit upright, not follow the downward slope of the pulled-over fabric.
The badge normally rests close to the headband, but it should not be forced so low that the lower edge catches or distorts the band. Equally, a badge mounted well above the band tends to look detached and can pull the beret fabric into a visible crease. The precise gap depends on the badge size, the construction of the beret and unit direction. Aim for a secure, balanced position that looks correct when viewed from directly in front.
Ask someone to inspect it from a few paces away before fixing it permanently. A badge can appear straight in a mirror but sit noticeably off-centre to another person. Check it from the front and each side, with the wearer standing naturally rather than tilting their head to compensate.
Prepare the beret before fitting the badge
A badge cannot correct a poorly fitted beret. Choose the correct size first. A headband that is too tight can lift the front edge and make the badge angle forwards; one that is too loose allows the whole beret to move during wear.
New wool berets often need careful shaping. Follow the manufacturer’s care advice, especially where a beret has a leather band, lining or reinforced badge area. When shaping is appropriate, work gradually rather than soaking or pulling the material aggressively. Excess water, heat or rough handling can shrink wool, damage a lining and leave the beret misshapen.
Once the beret sits level, pull the excess cloth towards the wearer’s right side. The badge side should remain neat and relatively flat. If there is a large fold directly behind the cap badge, ease the material back into shape before fitting it. This prevents the badge from rotating or standing proud when worn.
Check the internal drawstring or adjustment tape as well. Trim only if the beret’s instructions permit it, and never cut more than required. A loose dangling drawstring looks untidy, but an over-trimmed one leaves no margin for adjustment.
Check the badge and its backing
Most metal cap badges use lugs or sliders, while some embroidered, cloth or lightweight badges have sewn or hook-and-loop fittings. Use the attachment method intended for that badge. For metal lugs, a suitable backing plate or protective pad inside the beret helps spread the pressure and reduces wear to the wool.
Make sure the lugs are straight before fitting. Bent lugs can leave a badge loose, pull it at an angle or tear the fabric. Push them through carefully, fit the backing, then bend them only enough to hold firmly. Over-bending weakens the metal and makes future removal difficult.
Avoid using household glue, safety pins or improvised wire on a beret intended for uniform wear. Glue can stain wool and permanently damage a valuable badge; pins can work loose or leave enlarged holes. If a badge has an unusual fitting, source the correct backing or ask a qualified tailor or unit stores representative for advice.
Fit the badge without damaging the beret
With the beret on your head, lightly mark the intended points from the inside using tailor’s chalk or a removable fabric marker. Remove the beret and push the lugs through from the outside. Work on a clean, flat surface so that grit, polish or metal filings do not mark the cloth.
Refit the beret before bending the lugs fully. This extra check takes a minute and can save an unnecessary set of holes. If the badge is square, level and directly over the left eye, remove it again and secure the fittings on the inside. Press the backing flat so that it does not create a hard point against the forehead.
Do not force the badge tight enough to pinch the fabric. A cap badge should lie close to the beret, but the wool should not be stretched into a puckered ring around it. If it is, reposition the fittings or use a backing plate that better supports the lugs.
Common faults that spoil a smart turnout
The most frequent mistake is confusing the wearer’s left with the observer’s left. Stand in front of a mirror: the badge will appear on the mirror’s right-hand side, but it belongs above your own left eye. A second common fault is fitting the badge straight on a table and assuming it will remain straight once the beret is shaped.
Badges can also drift after repeated wear. Sweat, rain, movement and the pressure of pulling the beret on can gradually loosen a backing. Inspect the fittings before a significant occasion, especially after field use, travel or cleaning. A quick check is preferable to finding a loose cap badge in a vehicle, drill hall or parade square.
Do not polish every badge automatically. Brass badges may be intended to be polished, while anodised, subdued, cloth and modern finished badges are not. Over-polishing can strip a finish or produce an appearance that does not meet the required dress standard. The same principle applies to old or inherited insignia, where preserving condition may matter more than making it shine.
Care, storage and presentation
Store a beret flat or on a suitable head form where possible. Do not leave it crushed beneath heavy kit, particularly with a metal badge attached. The badge can create a permanent pressure mark in the wool and the lugs may bend against other equipment.
If the beret becomes wet, allow it to dry naturally away from direct heat. Shape it gently while damp only if this is appropriate for the material and construction. Brush off dry dust with a soft clothes brush, and keep polish, aerosol cleaners and adhesive away from the fabric.
For cadets, veterans and enthusiasts building a British Forces-style turnout, it pays to buy a beret and badge that suit the intended purpose. A hard-wearing everyday beret, a correctly finished cap badge and proper backing fittings will give a better result than a rushed, improvised setup. John Bull Clothing’s military-focused range is built around the sort of practical detail that makes this easier to get right.
Before you step onto parade or out for a formal event, make one final check in natural light: level headband, badge over the left eye, badge upright, beret drawn cleanly to the right. That disciplined finish is what people notice first.