
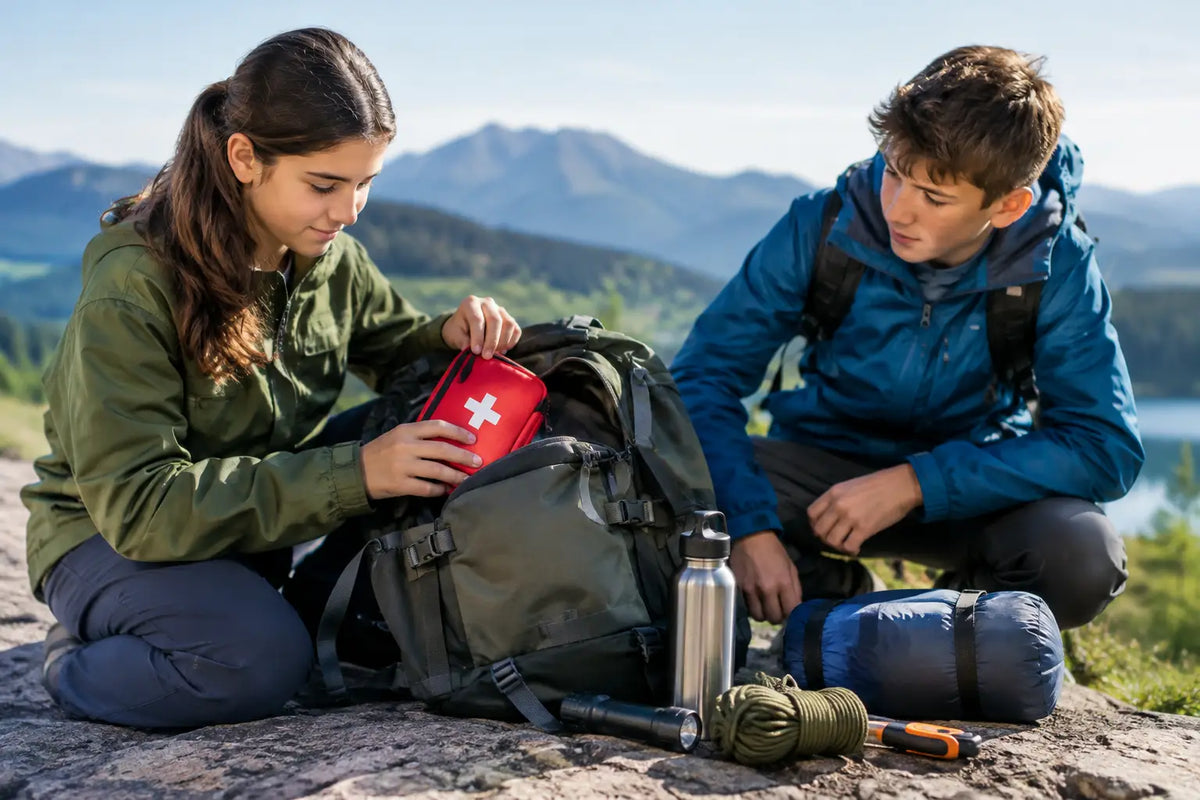
A best junior survival kit is not a miniature version of an adult loadout, and it should not be built around gimmicks. For cadets, Scouts, young explorers and families heading outdoors, the priority is straightforward: useful equipment that helps a young person stay warm, hydrated, visible and able to communicate while an adult-led plan is put into action.
The right kit builds confidence without encouraging risk-taking. It should suit the activity, the forecast, the location and the youngster’s ability to use every item properly. A compact pouch full of unfamiliar tools may look impressive, but dependable basics carried correctly are far more valuable in the field.
What makes the best junior survival kit?
A junior kit should support sensible outdoor practice, not replace supervision, route planning or suitable clothing. Children and teenagers cool down more quickly than adults, can become dehydrated without noticing, and may find it harder to explain where they are or what has happened. Their kit needs to address those practical realities.
Start with the likely conditions. A survival kit for a cadet field exercise in wet British woodland will look different from one for a summer hike on a marked trail. Cold, rain, wind, darkness and poor visibility are usually more immediate concerns in the UK than dramatic wilderness scenarios.
Size and weight matter as well. If a pouch is too heavy, it will be left in a day sack or handed to an adult. If it is too small, it may hold little beyond novelty items. A compact, clearly organised kit carried in the top of a rucksack, side pocket or belt pouch is generally the most practical arrangement.
Most importantly, every item must be familiar. A young person should be shown how to use the equipment at home or during supervised training, not when they are cold, tired or separated from the group.
Build the kit around the essentials
The best approach is to organise a junior survival kit around immediate needs: shelter from the weather, warmth, water, signalling and simple first aid. The exact contents can then be adjusted for the outing.
Shelter and warmth
Exposure is a genuine risk on a wet or windy day, even during a short activity. A lightweight emergency bivvy bag or survival bag is one of the strongest additions to a junior kit. It gives a young person a windproof, water-resistant layer if they need to stop and wait, and it takes up very little room when packed.
An emergency foil blanket can be useful, but it is less durable and less effective as a standalone shelter in wind and rain. Where space allows, a proper emergency bivvy is the better field choice. A bright orange option can also improve visibility for supervisors or search teams.
A warm hat and spare gloves are often more useful than a larger survival gadget. They should normally be packed as part of the child’s main clothing system rather than sealed in the emergency pouch. Wet hands quickly make simple jobs difficult, including opening food, using a torch or fastening a jacket.
Water and energy
A filled water bottle should be standard issue for any outdoor activity. Do not rely on a junior survival kit to provide drinking water from untreated streams or ponds. Water purification tablets and filters have a place on properly planned expeditions, but they require instruction, time and a suitable water source.
For a day out, include a small reserve snack that will withstand being knocked about in a rucksack. High-energy food such as cereal bars, oat bars or an individually wrapped chocolate bar can help maintain morale and energy while waiting for assistance. Check it before each trip, especially in warm weather, and account for allergies.
The reserve snack is not a substitute for proper lunch, water and regular breaks. It is simply a useful contingency item that a young person knows is there.
Light and signalling
A compact head torch is preferable to a hand torch for most junior kits. It keeps both hands free for navigating, holding a shelter or helping with camp tasks. Choose a simple model with a clear switch and carry spare batteries only if the child knows how to fit them.
A whistle is small, reliable and effective. Three short blasts are widely recognised as a distress signal, but that only helps if the youngster has practised using it calmly and understands when to stop and listen for a response. A whistle should be attached where it can be reached quickly, not buried at the bottom of a pack.
A high-visibility panel, brightly coloured survival bag or small signal mirror can assist in open ground. For younger cadets and children, high-visibility clothing and a dependable torch generally offer greater value than specialised signalling equipment.
Navigation and contact details
A printed card with the child’s name, emergency contact number, relevant medical information and the day’s meeting point is a simple but worthwhile addition. Keep it protected in a waterproof sleeve. It is particularly useful on larger events where several adult leaders may be involved.
Older, trained cadets may carry a map and compass appropriate to the route. These are navigation tools, not just survival-kit items, and they only work when paired with practice. A map case and a basic compass can be excellent training equipment for supervised exercises, but they should not create false confidence in poor visibility or unfamiliar terrain.
A mobile phone can help, provided there is signal and battery. It should be fully charged, protected from rain and used as a backup rather than the sole safety measure. For organised activities, follow the unit, school or expedition policy on phone use.
First aid, kept simple
A junior first-aid section should deal with minor cuts, blisters and immediate comfort until an adult with proper training takes over. A few plasters, a sterile dressing, antiseptic wipes and blister plasters are sensible choices. Include any personal medication only in line with parental and organisational guidance.
Avoid loading the kit with medicines, blades or advanced trauma equipment that the child cannot use. A large first-aid kit can give an unrealistic impression of capability. On group activities, the responsible adult should carry the main first-aid provision and know each participant’s medical needs.
Equipment to treat with care
Some traditional survival items need a clear age and supervision judgement. Fire-lighting equipment is the obvious example. Waterproof matches, ferro rods and tinder may be suitable for older cadets undertaking authorised bushcraft training, but they are not essential for every junior kit. Fire brings burn risk, wildfire risk and site restrictions, particularly in dry conditions or woodland.
Knives should be approached in the same way. A locking knife, multitool or fixed blade is not a standard requirement for a young explorer’s emergency pouch. If a knife is needed for a specific supervised task, choose an age-appropriate tool, teach safe handling and follow the relevant rules for the activity and location.
Paracord, duct tape and a small repair kit can be useful on expeditions, but only if they have a defined purpose. A short length of cord can secure a broken strap or help rig a simple shelter with adult instruction. Carrying metres of cord without training often adds bulk rather than capability.
Pack it so it gets used
Put the core kit in a waterproof pouch or dry bag that is easy to identify. Clear labelling matters, especially when several children have similar rucksacks. Keep the emergency bivvy, whistle, head torch, contact card and basic first aid together, while water, spare clothing and food remain accessible in the main pack.
Before setting off, carry out a quick kit check. Make sure the torch works, the water bottle is full, food is in date and the emergency contact card is current. This routine is as valuable as the equipment itself. It teaches responsibility, inspection and care of field kit.
For overnight camps and longer expeditions, scale up rather than overstuffing the same pouch. A sleeping system, waterproof layers, proper meals, navigation equipment and group shelter should be planned as expedition equipment, with load weight shared sensibly between participants where appropriate.
Match the kit to the young person
For a younger child on a family walk, focus on warmth, water, a whistle, a head torch and contact details. For a cadet on a supervised training weekend, add an emergency bivvy, map-and-compass equipment, a repair item and activity-specific essentials. For older teenagers working towards expedition qualifications, the kit can become more capable as their training and responsibility develop.
There is no prize for carrying the most equipment. The right junior survival kit is one a young person can explain, carry comfortably and use safely under the guidance of adults. Start with dependable basics, practise with them in controlled conditions, and let the kit grow alongside their experience.