
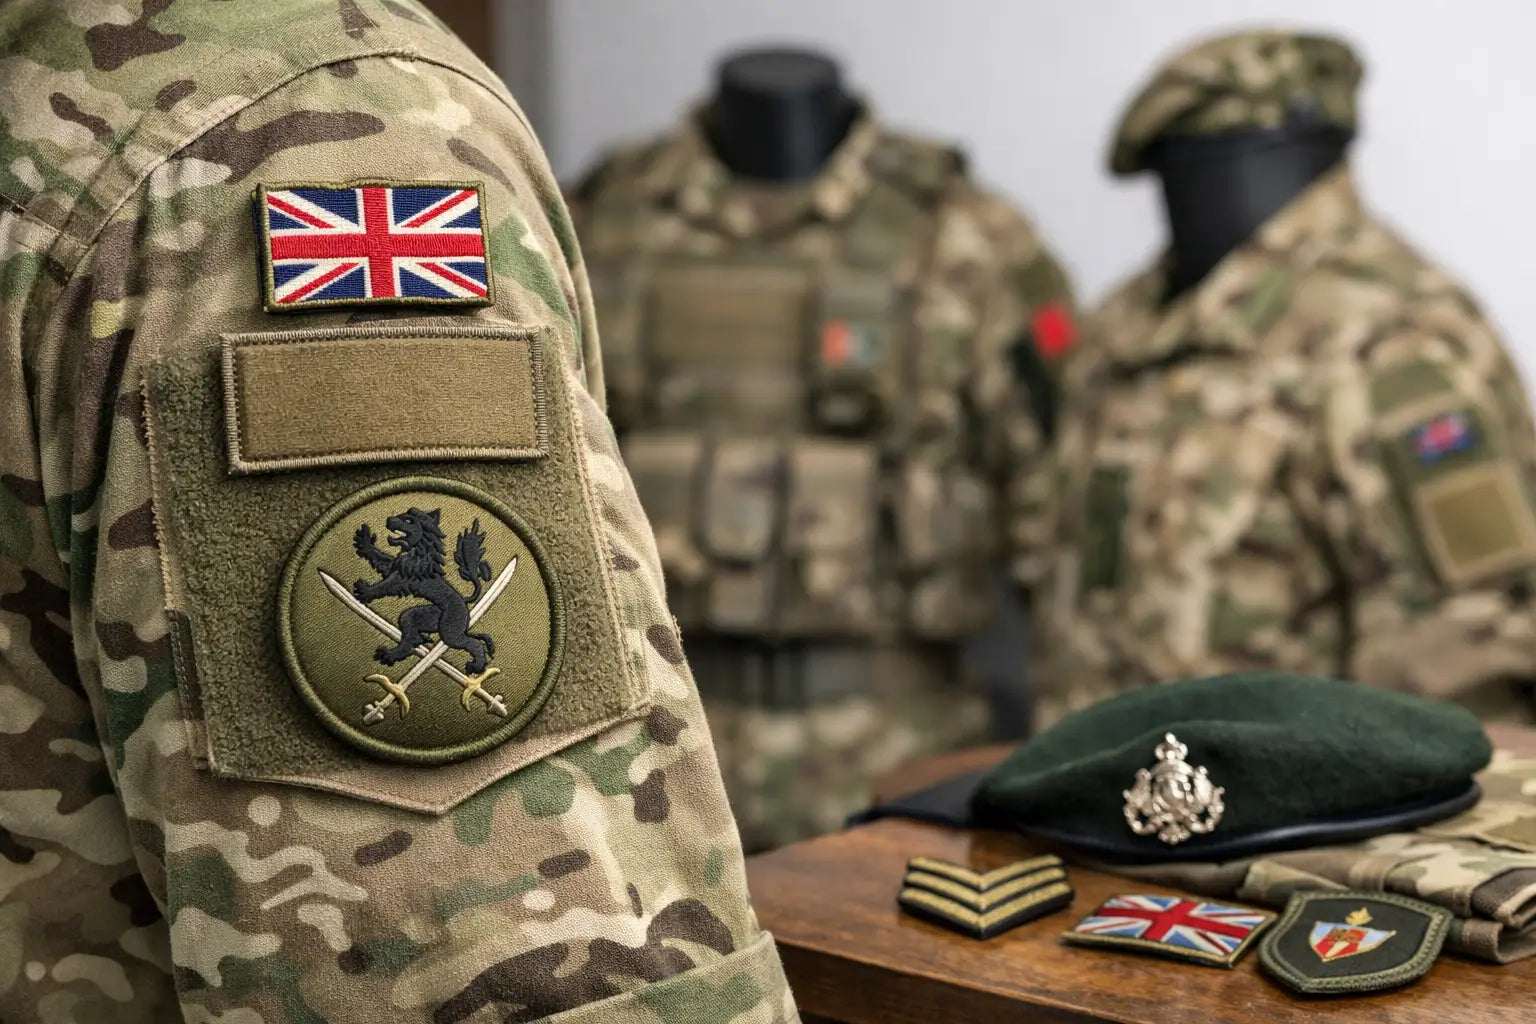
A poorly fitted badge is noticeable long before anyone reads it. Crooked stitching, a formation sign placed by guesswork, or an unauthorised morale patch on issued clothing can undermine an otherwise smart turnout. This army patch placement guide covers the practical checks that matter for British military-style uniforms, cadet dress and field equipment - while keeping the most important rule clear: current unit and dress regulations always take priority.
There is no single placement chart that applies to every soldier, regiment, corps, cadet force or item of clothing. Dress policy changes, combat clothing differs from service dress, and some badges are authorised only for particular appointments, qualifications or deployments. Treat generic diagrams as a starting point, not an authority.
Start with the uniform and its purpose
Before opening a packet of badges or threading a needle, identify exactly what garment is being worked on. A PCS shirt, a barrack dress jacket, a cadet uniform and a reproduction combat smock may look broadly similar, but they are not dressed in the same way.
On current operational clothing, many insignia are designed around hook-and-loop panels or removable rank slides. That arrangement is deliberate. It lets the wearer adapt authorised insignia to the clothing order, replace worn items and reduce the need to sew directly into issued kit. If a garment has purpose-made panels, do not stitch a patch over them unless your chain of command has specifically directed it.
Formal and ceremonial dress is less forgiving. Badge spacing, backing material, thread colour and symmetry can all be inspected closely. A tailor, clothing stores representative, troop sergeant major or unit dress specialist is usually the right person to confirm the detail before permanent work is carried out.
For collectors, reenactors and airsoft users, the same discipline pays off. First decide whether you are building an accurate period impression, a British Forces-inspired loadout or simply personalising field kit. Mixing eras and insignia can be a deliberate choice, but it should not be mistaken for correct military dress.
Army patch placement guide: confirm what is authorised
The first question is not where a badge goes. It is whether it belongs on that item at all. Service insignia can indicate regiment, corps, formation, trade, qualification, appointment or operational role. Some are worn only after formal award; others are tied to a particular posting or dress order.
For serving personnel, follow the latest instructions from your unit. Local standing orders often settle points that a general guide cannot, including whether patches are worn in barracks, on exercise, at public events or only in a particular theatre. If an instruction conflicts with an old photograph, social media post or surplus-shop mannequin, use the instruction.
Cadets should take the same approach through their detachment or contingent. Cadet force badges and rank identifiers have their own approved arrangements and may differ from Regular Army dress. Parents buying badges for a young cadet should check with the detachment before sewing anything on. It avoids wasted money, damaged clothing and a last-minute correction before parade night.
A useful distinction is between official insignia and personal patches. Regimental flashes, rank slides and approved qualification badges belong to the first category. Humorous or morale patches belong to the second. Personal patches may be acceptable on a day sack, range bag, airsoft rig or privately owned jacket, but they should never be assumed acceptable on uniform or issued equipment.
Read the garment before fitting the badge
Modern combat shirts and smocks often provide the answer through their construction. Look for sleeve panels, chest tabs, rank-slide loops and factory stitching lines. These features show where removable identifiers are intended to sit and help keep the garment functional.
Do not block a pocket flap, zip, ventilation panel, pen slot or hook-and-loop closure merely because a patch looks balanced there. Field clothing needs to work under webbing, body armour and layers. A badge that catches on a strap or stops a pocket closing is in the wrong place, however neat the stitching may be.
For sewn-on badges, use the garment's seams and pocket edges as reference points rather than measuring from the floor or a hanger. Lay the item flat on a clean surface, button or zip it correctly, and smooth the fabric without stretching it. Position the patch square to the garment, then compare both sides before fixing it.
This is particularly important with shoulder insignia. A patch can appear level when the sleeve is flat yet sit at an angle when worn. Pin or lightly tack it in place, put the garment on, and check it in a mirror with arms relaxed. Make adjustments before committing to final stitching.
Secure patches without damaging good kit
Hook-and-loop badges are the simplest option, provided the patch and panel are clean. Remove loose fibres, grass and thread ends first. A clogged panel loses grip and can leave a badge peeling away during movement. Press the patch from the centre outwards, then run a hand around all edges to confirm it has engaged properly.
Sewing calls for a little more care. Match the thread closely to the patch border or garment colour, depending on the required finish. Use a fine, strong polyester thread for most combat clothing and a suitable needle that will pass through the fabric without leaving oversized holes. Heavy canvas and older smocks may require a stronger needle, but forcing one through technical fabrics can damage waterproof coatings or membranes.
Keep stitches small, even and close to the patch edge. A whip stitch works well for many embroidered badges; a discreet running stitch may suit a patch with a clean raised border. Avoid pulling the thread too tight. Puckered fabric looks untidy and can distort the badge once the garment is worn.
Iron-on backing may seem convenient, but it is rarely the best choice for operational clothing. Heat can harm synthetic fabrics, coatings and hook-and-loop areas, while adhesive can fail after washing. It may be suitable for a display item or costume garment if the manufacturer permits it, but stitching or a proper removable panel is the more dependable solution.
If the item is expensive, waterproof, fire-retardant or issued, ask before altering it. A small sewing job can affect a warranty, a protective treatment or the garment's suitability for return to stores.
Keep official dress and field kit separate
A common mistake is applying the same standard to every item someone owns. Formal uniform should be smart, restrained and strictly in line with dress instructions. Field kit can be more practical, but it still needs to be compatible with the job being done.
For privately owned packs, webbing and utility pouches, a removable patch panel is generally preferable to sewing directly onto the fabric. It allows identification or personalisation to change as needed, does not compromise the material and keeps resale or future use straightforward. Choose subdued patches where discretion matters, particularly for outdoor training, security work or tactical use.
There is also an operational consideration. Unit-identifying patches can reveal more than intended in photographs shared online. Serving personnel should follow their unit's direction on imagery, identifiers and social media. For everyone else, avoid presenting a personal kit setup as issued or authorised military dress.
A final inspection before wearing it
Once fitted, check the badge under normal conditions rather than only on a table. Wear the garment with the layers, belt kit or body armour you would normally use. Open the pockets, move your arms, shoulder a pack and make sure no edge lifts or catches.
Then inspect the simple details: the patch is clean, level, firmly attached and free from loose thread; matching badges are symmetrical; and no pocket, fastener or rank-slide loop has been obstructed. On parade dress, check it in good light from several paces away. That is where uneven placement becomes obvious.
When there is any doubt, pause before sewing. A quick confirmation from a unit dress authority is cheaper than replacing a shirt, and careful fitting keeps your uniform or field kit looking as dependable as the rest of your equipment.