
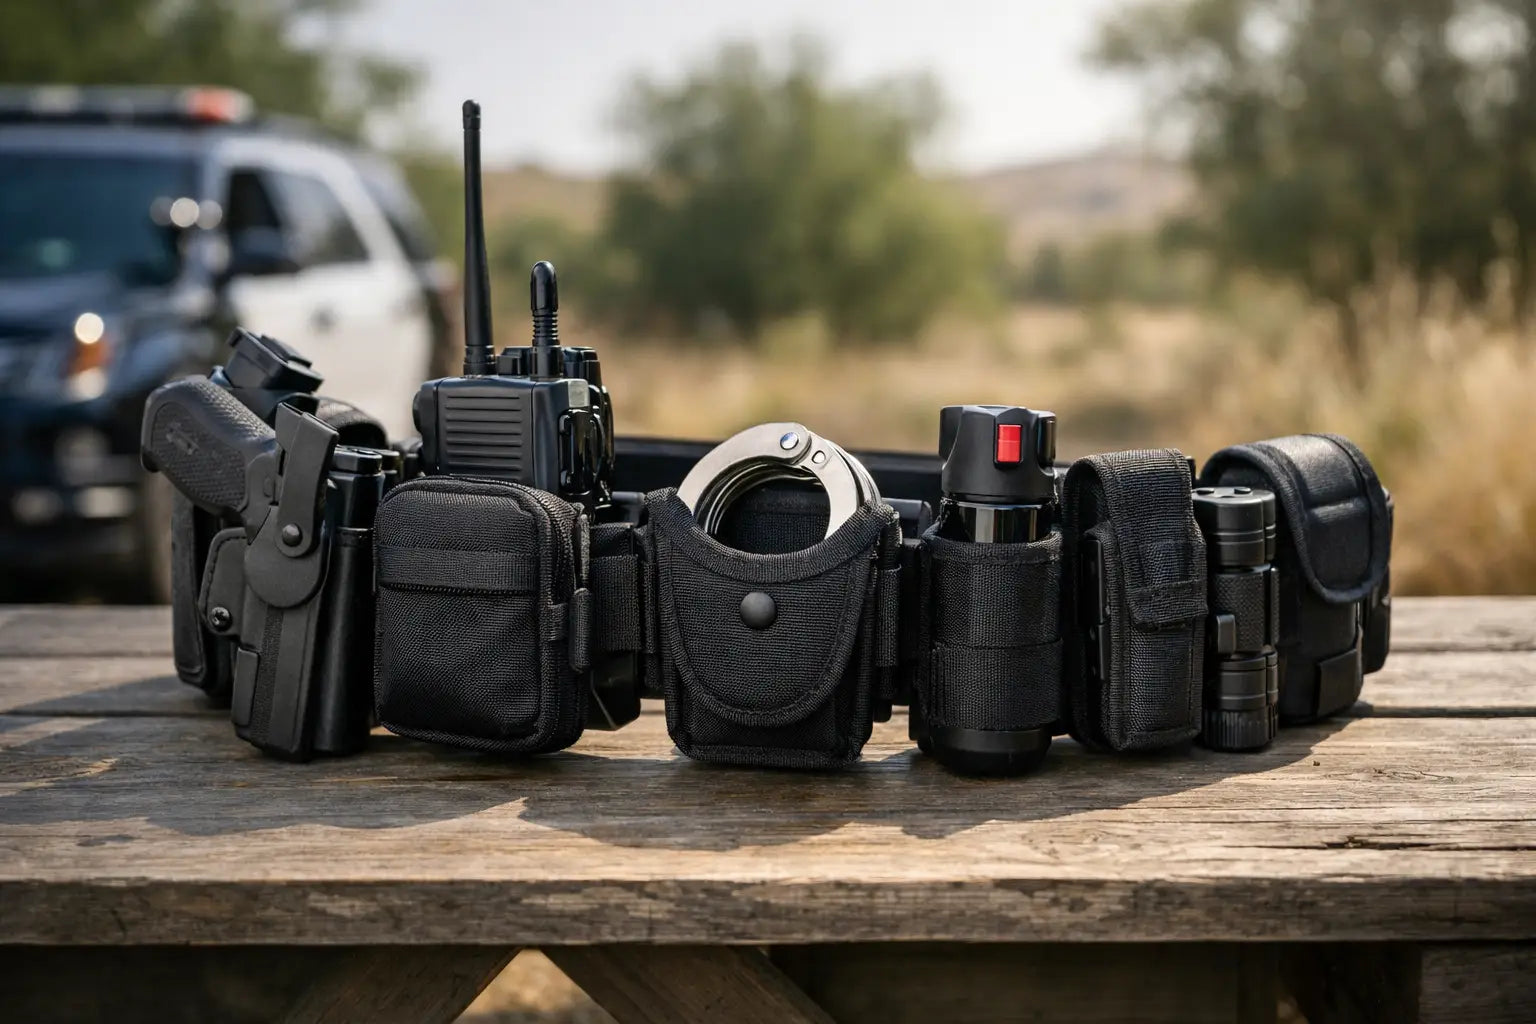
A belt that twists, slips or catches on a vehicle seat becomes a problem long before the rest of your kit does. This tactical belt setup guide is built around one principle: carry essential, authorised equipment where you can reach it reliably, then leave the rest on your webbing, pack or vehicle.
A good belt setup is not defined by how much kit it holds. It is defined by whether it remains secure through movement, works with your body armour or daysack, and allows you to access each item without looking down. Patrol, policing, security work, range training, airsoft and fieldcraft all create different requirements, so start with the job rather than copying someone else’s layout.
Start With the Belt System
The foundation matters. A lightweight trouser belt may be suitable for casual wear, but it will not properly support loaded pouches. For sustained use, choose either a stiffened duty belt or a two-piece system with an inner belt and a padded or rigid outer belt. The inner belt holds your trousers in place; the outer belt secures to it with hook-and-loop fastening, reducing movement when drawing equipment or getting in and out of a vehicle.
Belt width must match both the pouches and your clothing. Many tactical pouches are designed for standard duty-belt widths, while some MOLLE belt sleeves accept a wider range of attachment systems. Check this before buying. A pouch that is only partly engaged with the belt can shift, sag or detach when working hard.
The fastening should be simple, dependable and appropriate for the role. A solid metal buckle offers excellent security, but may be bulky under a jacket or body armour. A lower-profile buckle can be more comfortable for vehicle work and prolonged wear. Whichever style you choose, test it while kneeling, sitting and wearing the layers you normally use.
Define What Must Stay on the Belt
Your belt should carry items that are needed quickly or that must remain with you if you remove a pack or outer layer. Everything else needs a reason to be there. In many cases, water, rations, cold-weather layers, navigation equipment and sustainment kit are better carried in webbing or a daysack.
For an operational, police or security role, follow issued policy, training and local standard operating procedures before changing any layout. Retention, medical access and safe handling requirements take priority over personal preference. For civilian field use, airsoft or range work, apply the same discipline: carry only lawful, appropriate equipment and make sure it is secure.
A practical starting point is to think in three groups. Your first line is immediate-access equipment, such as a torch, gloves, communications equipment or an individual first aid kit where appropriate. Your second line is bulkier support kit on webbing or a chest rig. Your third line is your pack, carrying items required later in the day.
Build Your Tactical Belt Setup by Access Zones
Set the belt out flat and identify the usable space from hip to hip. The front needs to stay relatively clear for bending, kneeling and working around a buckle. The rear centre is often uncomfortable against a vehicle seat, rucksack waist belt or hard ground. This leaves the strong-side and support-side hips as the most useful areas for frequently accessed pouches.
Place priority equipment where your hands can find it naturally. If you are right-handed, you may prefer critical tools or authorised equipment on the right side and medical or support items on the left, but this is not a rule. The correct layout depends on handedness, training, vehicle use and what your role requires. Avoid positioning two essential items so close together that one blocks access to the other.
Keep the support-side front clear enough to sit comfortably. A bulky utility pouch directly under the stomach can dig in when seated, while a large pouch at the rear can push your spine forward against a seat. Small changes of a few centimetres can make a major difference over a full day.
Before fixing pouches permanently, use temporary placement or repositionable attachments. Walk, jog, kneel, climb stairs and sit in a chair or vehicle. Practise accessing each item with gloves on. If a pouch feels awkward during a five-minute test, it will feel worse after several hours in wet kit and poor weather.
Keep Medical Equipment Separate and Identifiable
A first aid kit is not just another utility pouch. It needs to be quickly recognisable, accessible with either hand where possible, and stocked for the training level and task at hand. A clearly marked pouch is preferable to an unlabelled container buried under general equipment.
Do not overload it with items you have not been trained to use. A compact, well-organised kit that you understand is more useful than a large pouch full of unfamiliar contents. Protect medical supplies from water, dirt and crushing, particularly if the belt will be used for crawling, vehicle work or prone shooting positions.
Consider whether a belt-mounted medical pouch remains accessible when you are wearing a pack, plate carrier or waterproof jacket. If it does not, another approved location may be better. The answer is not always to add more pouches. Often it is to move one essential item to a place where it can actually be reached.
Balance Weight Before Adding More Kit
A tactical belt should feel balanced rather than symmetrical. A heavier item on one side may be offset by another item elsewhere, but do not force balance at the expense of access. The aim is to prevent the belt rotating or pulling down during movement.
Excess weight is the common mistake. Every pouch, tool and spare item adds bulk, catches on doorways and makes sitting less comfortable. If you are constantly adjusting the belt, tighten the foundation first, then assess whether an item is genuinely required. A well-fitted belt with fewer items usually performs better than an overloaded one with premium hardware.
Pay attention to how the system works with your trousers. Strong belt loops, correctly sized trousers and a belt that sits at the right height all matter. If the outer belt rides over the top of your waistband, it can shift under load. A two-piece belt generally solves this better than simply cinching a single heavy belt tighter.
Choose Pouches for Retention, Not Just Capacity
The best pouch is not necessarily the largest or the cheapest. Look for sound stitching, dependable attachment straps, drainage where needed and retention suited to the contents. Elastic retention can be fast and low profile, while flap closures provide greater protection from mud and weather. Open-top pouches can be effective for frequently used items, but only when the item remains secure through running, crawling and vehicle movement.
MOLLE-compatible pouches offer flexibility, although poor-quality webbing or loose attachment can allow them to wobble. Thread attachment straps correctly and fully. After fitting, pull each pouch firmly from several angles. If it moves independently of the belt, refit it before use.
Colour and finish are practical considerations too. For field work, select equipment that matches the environment and the rest of your load-carrying system. For security or range use, a tidy, consistent layout can be more useful than camouflage. Avoid unnecessary dangling straps, shiny clips and loose cord that can snag or create noise.
Test the Setup Under Real Conditions
A belt setup is only proven after use. Start with a short dry run, then test it during the activities that matter: walking over uneven ground, climbing, running, working from a vehicle, wearing a waterproof smock, or carrying a pack. Check whether the belt remains level and whether equipment is still accessible with wet or gloved hands.
Conduct a simple post-use inspection. Look for loose stitching, damaged webbing, cracked clips, hook-and-loop clogged with debris and pouches beginning to sag. Empty and dry the belt after wet training. Dirt and moisture shorten the life of fastenings and can make critical equipment harder to access.
John Bull Clothing customers often build their kit around different roles, from cadet training and outdoor use to patrol and professional equipment requirements. That is why a modular, role-led approach is more dependable than a one-size-fits-all belt layout.
Adjust It as Your Role Changes
Your first configuration should be treated as a working draft. A range belt may need little more than essential support equipment and a medical pouch, while a field belt may require space for gloves, a torch, navigation aids or communications items. A vehicle-based role may demand a flatter profile than foot patrol.
Make one change at a time and test it. Moving several pouches at once makes it difficult to identify what improved comfort or access. Keep the belt clean, inspect the hardware, and replace worn attachment components before they fail in use.
The right setup is the one that stays secure, keeps essential equipment to hand and does not distract from the task. Build it for your actual conditions, train with it properly, and let repeated use - not appearance - decide what earns space on the belt.