
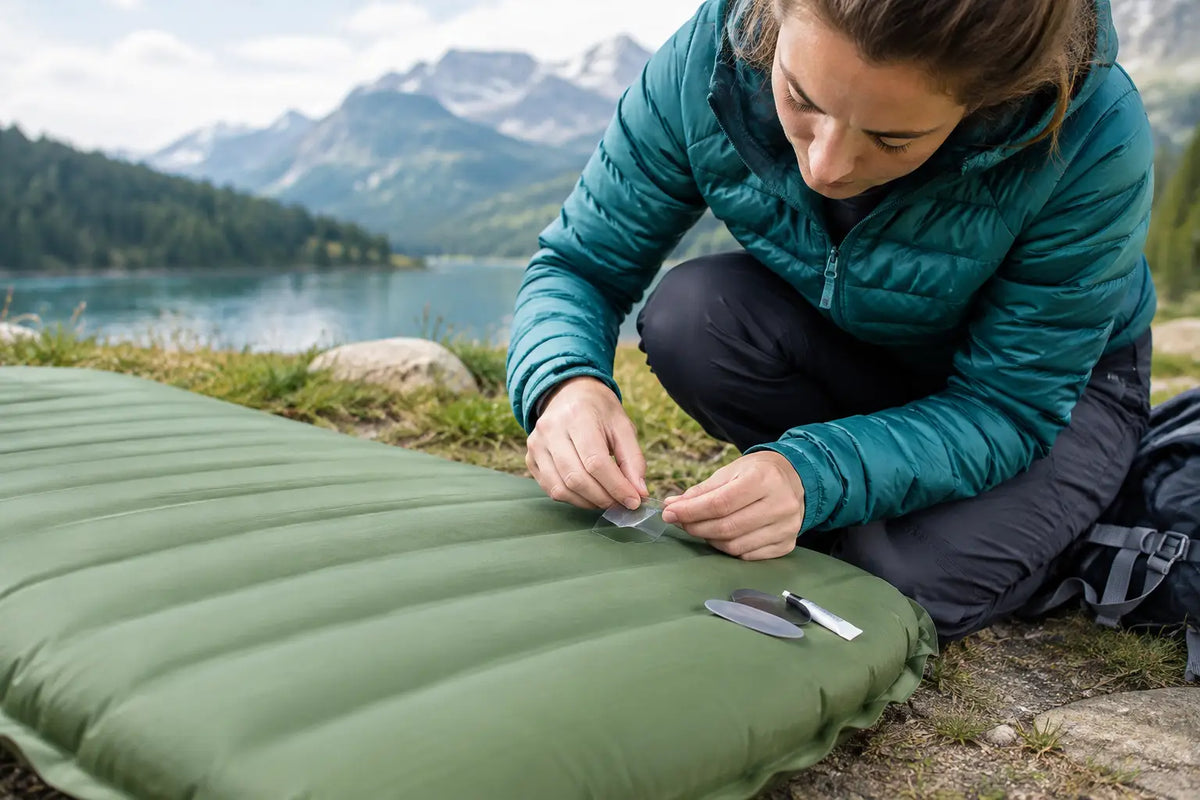
A sleeping mat that loses air at 0200 is more than an inconvenience. It strips insulation from beneath your body, compromises recovery, and turns a wet or cold night into a long one. Knowing how to repair sleeping mat damage properly is therefore a useful field skill, whether you are on exercise, wild camping, attending a cadet expedition or keeping kit ready for deployment.
Most punctures can be repaired successfully. The key is identifying the type of mat, finding the true source of the leak, and using an adhesive or patch compatible with its fabric. A rushed repair may hold for an hour, then fail again once the mat is loaded with body weight.
Identify Your Sleeping Mat Before Repairing It
Start by establishing what you are working on. Inflatable air mats are usually made from lightweight nylon or polyester with a coated surface. They are comfortable and compact, but a thorn, splinter, sharp stone or stray item of webbing hardware can puncture them.
Self-inflating mats have an air-tight fabric shell around an open-cell foam core. A small puncture in the shell can generally be patched in much the same way as an inflatable mat. However, damage to the valve, delamination of internal material, or a split seam may require more than a standard field patch.
Closed-cell foam mats do not hold air, so they cannot puncture in the usual sense. Tears, crushed sections and gouges reduce comfort but rarely make the mat unusable. Tape can prevent a tear from spreading, although replacement is often the sensible option if the foam is badly damaged.
Check the manufacturer’s instructions if you still have them. Some coated fabrics react poorly to general-purpose glues, while some repair kits are designed for a specific mat material. The patch supplied with your mat is normally the safest first choice.
How to Find a Leak in a Sleeping Mat
Do not assume the obvious mark is the leak. A pinhole can be almost invisible, while a scrape on the outer surface may be only cosmetic. Inflate the mat firmly, close the valve and listen close to the surface in a quiet shelter. Press the mat section by section and feel for escaping air on your cheek or the back of your hand.
Pay particular attention to high-wear areas: the underside, corners, fold lines, valve surround and seams. If the mat was used directly on rough ground, inspect the area that faced the ground first.
At home, a light solution of washing-up liquid and water is one of the most reliable ways to locate a small leak. Apply it sparingly over a suspected area and look for bubbles forming as air escapes. Mark the point with a wax pencil, masking tape or a small circle from a marker pen. Wipe the soap away afterwards and allow the fabric to dry fully.
Submerging an air mat in water can reveal leaks, but it is not always advisable. It can introduce water into the valve or internal chambers, and drying a large mat thoroughly afterwards is difficult. Use the soap method first. In the field, where water and drying time are limited, inflate the mat, listen carefully, and inspect it under a head torch held at a low angle.
A leak can also come from the valve. Check that it is free of grit, fully closed and not cross-threaded. On some models, the valve insert can loosen. Clean it, refit it correctly and test again before applying a patch to the mat body.
Prepare the Surface Properly
A patch will only bond to a clean, dry surface. Deflate the mat fully and lay it flat with the damaged area accessible. Remove mud, grease, insect repellent, sunscreen and soap residue. A clean cloth with isopropyl alcohol works well, but allow the area to dry before continuing.
If your repair kit specifies light abrasion, use the supplied abrasive pad sparingly. The purpose is to give adhesive a key, not to wear through the protective coating. Do not sand a lightweight air mat aggressively. On coated technical fabrics, too much abrasion can create a larger problem than the original puncture.
Warm, dry conditions produce the best result. Adhesives cure slowly in cold weather and may not bond at all on damp fabric. If you are repairing a mat in a tent porch or vehicle, keep the work area clean and protect it from rain, condensation and wind-blown grit.
Apply a Field Patch That Will Hold
A proper repair kit normally contains adhesive-backed patches, glue, fabric patches or a combination of these. Adhesive-backed patches are fast and useful for a small puncture. Glue-and-patch systems take longer but can offer a more durable repair when applied carefully.
For a self-adhesive patch, cut it into a rounded shape if it is not already pre-cut. Rounded corners are less likely to lift when the mat is rolled and packed. Make the patch large enough to extend at least 2 to 3 cm beyond the damage on every side. Peel off the backing without touching the adhesive surface, position it once, then press from the centre outwards to remove trapped air.
For a glue-based repair, apply a thin, even layer as directed by the kit. Some adhesives need to become touch-dry before the patch is placed; others require the patch to be applied while the glue is still wet. This is one situation where the instructions matter. Fit the patch, apply firm pressure, and leave the mat flat while the adhesive cures.
Do not inflate the mat immediately unless the repair kit specifically permits it. A patch that feels secure after five minutes may still fail under pressure. Give it the full recommended curing time where possible. Overnight is ideal for many adhesive repairs, particularly in cool conditions.
If you must sleep on the mat before a glued repair has fully cured, reduce the risk of failure by using it at partial inflation and placing a folded jacket, sit mat or spare clothing under the repaired area. It is not a permanent workaround, but it can help you retain some insulation for the night.
Improvised Repairs for a Night in the Field
When no repair kit is available, use an improvised repair only to get through the immediate night. Strong fabric tape can cover a tiny puncture on a dry, clean surface, especially if the mat is placed patch-side up to reduce ground contact. Clean the area as best you can, warm the tape between your hands, and press it down firmly.
Duct tape is better than nothing, but it does not bond reliably to every coated mat fabric and often lifts in damp or cold conditions. Electrical tape is generally a poor choice because it stretches and leaves residue. Superglue should also be avoided. It can become brittle, damage coatings and make a later proper repair more difficult.
If the puncture cannot be stopped, place the leaking mat over a closed-cell foam mat, folded clothing or dry vegetation where appropriate and permitted. The aim is to reduce conductive heat loss from the ground. A deflated inflatable mat alone offers little insulation once its internal air layer has collapsed.
When a Sleeping Mat Should Be Repaired at Home or Replaced
Small holes in the main fabric are good candidates for repair. A damaged valve, long split, seam failure or a mat that leaks from several places is different. Multiple leaks may indicate worn fabric, contamination from fuel or solvent, or internal damage that cannot be corrected with a patch.
A seam that is coming apart can sometimes be repaired with specialist flexible adhesive, but this is rarely a dependable field job. If the mat is part of your regular field sleep system, reliability matters more than squeezing another trip from compromised kit. Test it at home before relying on it for a cold-weather exercise or an overnight route.
After any repair, inflate the mat fully and leave it for several hours, preferably with light weight on it. Check the patch edges, valve and surrounding fabric. Then roll and pack the mat as normal before testing once more. A repair that survives the pack cycle is far more likely to survive use.
Prevent Punctures Before They Start
Site selection does most of the work. Clear sharp stones, thorns, twigs, spent cartridge cases and hard debris from beneath your shelter before laying out your sleep system. Use the tent groundsheet as intended, and avoid placing an ultralight air mat directly onto rough ground.
Keep knives, multitools, stove parts and metal tent pegs away from the mat when sorting kit in the dark. Do not over-inflate it, particularly in warm sunshine, as internal pressure rises with temperature. When packing, make sure the mat is dry, valve protected and stored away from fuels, solvents and battery leaks.
Carry the repair kit with the mat rather than in a separate admin pouch that may be left behind. A small patch kit weighs very little, but it can preserve a night’s sleep and your effectiveness the following day. The best field repair is the one you can make before cold ground and lost sleep become the problem.